


The Sharpest Tool in the Box
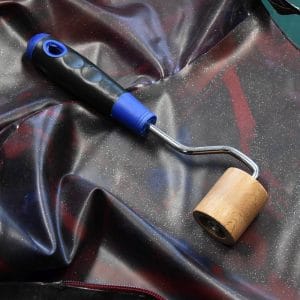
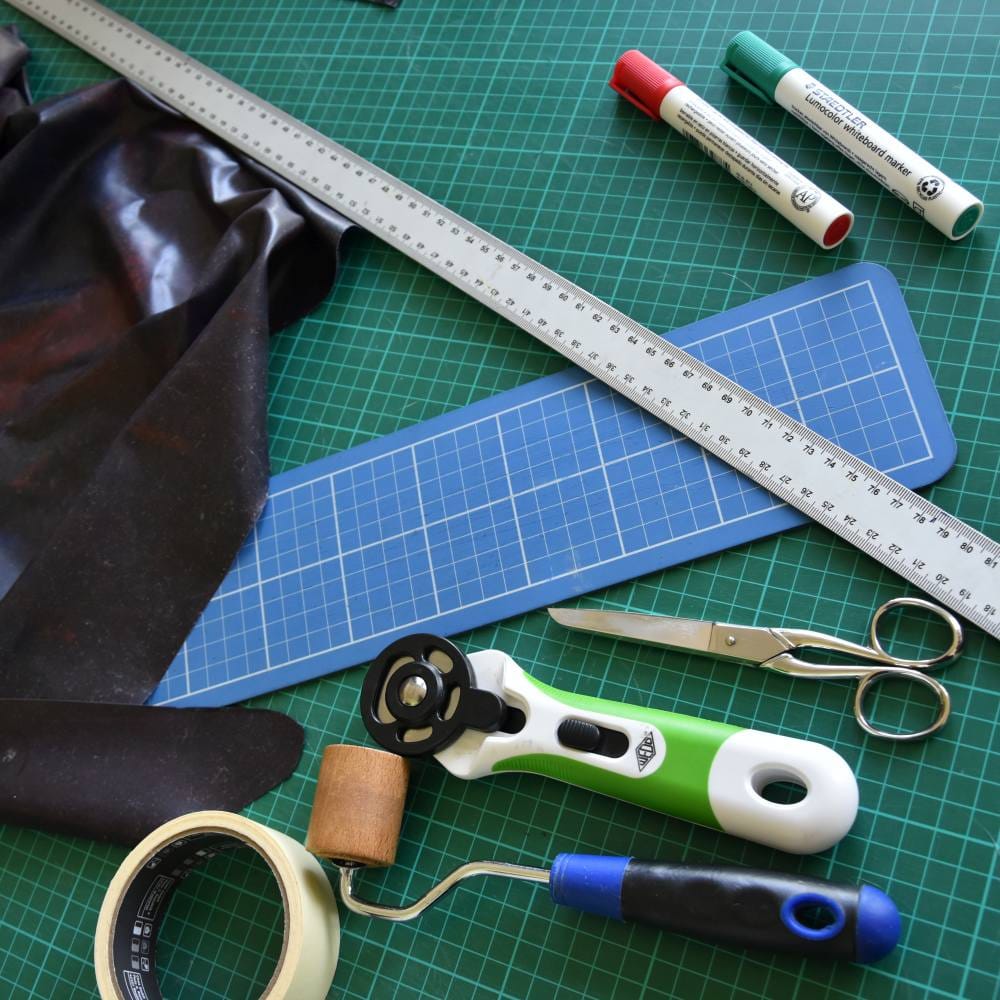
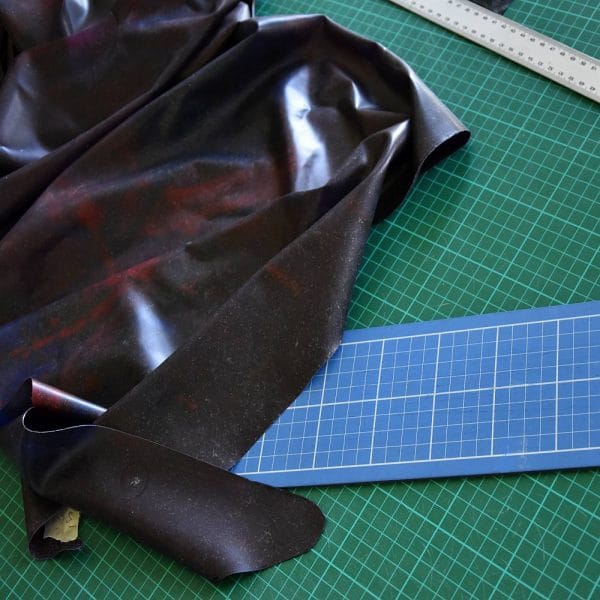
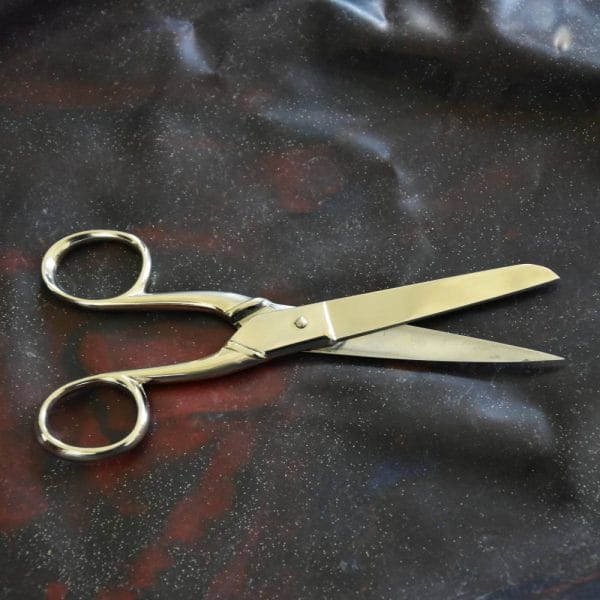
This is your go-to for cutting through latex like it’s a breeze. A sharp rotary cutter is key to clean, smooth edges. The blade’s round shape means you can slice with ease and without jagged edges.
Pro tip: Keep the blade fresh and sharp. A dull cutter will pull and stretch the latex, making it harder to control.
When visiting our customizable products, you will find a number of configurable products to choose from. Easiest way is, to choose the pattern, which is nearest to what you desire. If this is the case, just choose the pattern, all further configuration will happen then.